My first encounter with red velvet cake was courtesy of my roommate’s girlfriend who baked one after watching Steel Magnolias, the film that helped revive interest in the dessert.
In the movie, a red velvet armadillo cake covered in grey icing is served at a wedding reception.
When guests cut into it, the red interior makes it look as though it is bleeding.
The recipe my roommate’s girlfriend used that day called for an entire bottle of red food colouring.
After enjoying a slice, we discovered the following day that it had left its mark on our toilet bowl.
It was certainly an unforgettable introduction to the cake.
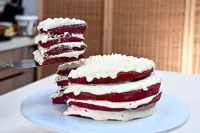
Red velvet cake is a crimson-coloured layer cake traditionally topped with cream cheese frosting.
It is particularly popular in the southern US, although its exact origins remain uncertain.
Several North American hotels claim to have developed the recipe in the 1920s.
Early versions used baking soda, buttermilk, vinegar, cocoa powder and brown sugar, which together were said to produce a vaguely reddish cake.
The science behind the cake’s original colour lies in the reaction between natural cocoa powder and acidic ingredients such as vinegar and buttermilk, which can bring out reddish undertones in the cocoa.
However, this is less reliable today because much of the cocoa powder available commercially, particularly Dutch processed cocoa, is alkalised during processing.
As a result, red food colouring eventually became the norm in modern recipes, although purists prefer natural colouring, opting for a less intensely red cake over an artificially dyed confection.
For those seeking a more natural red hue, beetroot juice is a common alternative, although it can impart an earthy flavour.
Dragon fruit juice is another option, but too much liquid can affect the cake’s texture, resulting in a dense, stodgy crumb.
The term “velvet” refers to its fine, soft crumb, traditionally achieved through a combination of ingredients and careful mixing.
Acidic ingredients such as vinegar and buttermilk or yoghurt help tenderise the crumb and contribute to its characteristic texture.
Red velvet is a showy cake that makes a striking centrepiece on any festive table.
As Atlanta-based food writer Angie Mosier once put it: “It’s the Dolly Parton of cakes; a little tacky, but you love her.”
Red velvet cake
Cake sponge
115g unsalted butter
260g granulated sugar
2 eggs
3 tbsp natural cocoa powder
1 tsp salt
1 tsp bicarbonate of soda
1 tsp white vinegar
270g all-purpose flour
225g plain yoghurt
¼ cup dragon fruit juice
Frosting
450g cream cheese
113g unsalted butter
113g icing sugar
250ml milk
5 tbsp all-purpose flour
1 tbsp vanilla extract
Directions
Preheat oven to 180°C.
Lightly grease two 22cm springform cake tins.
Line the bases with baking parchment and grease the paper.
Beat the butter and sugar until well combined.
Add the eggs one at a time, beating well after each addition.
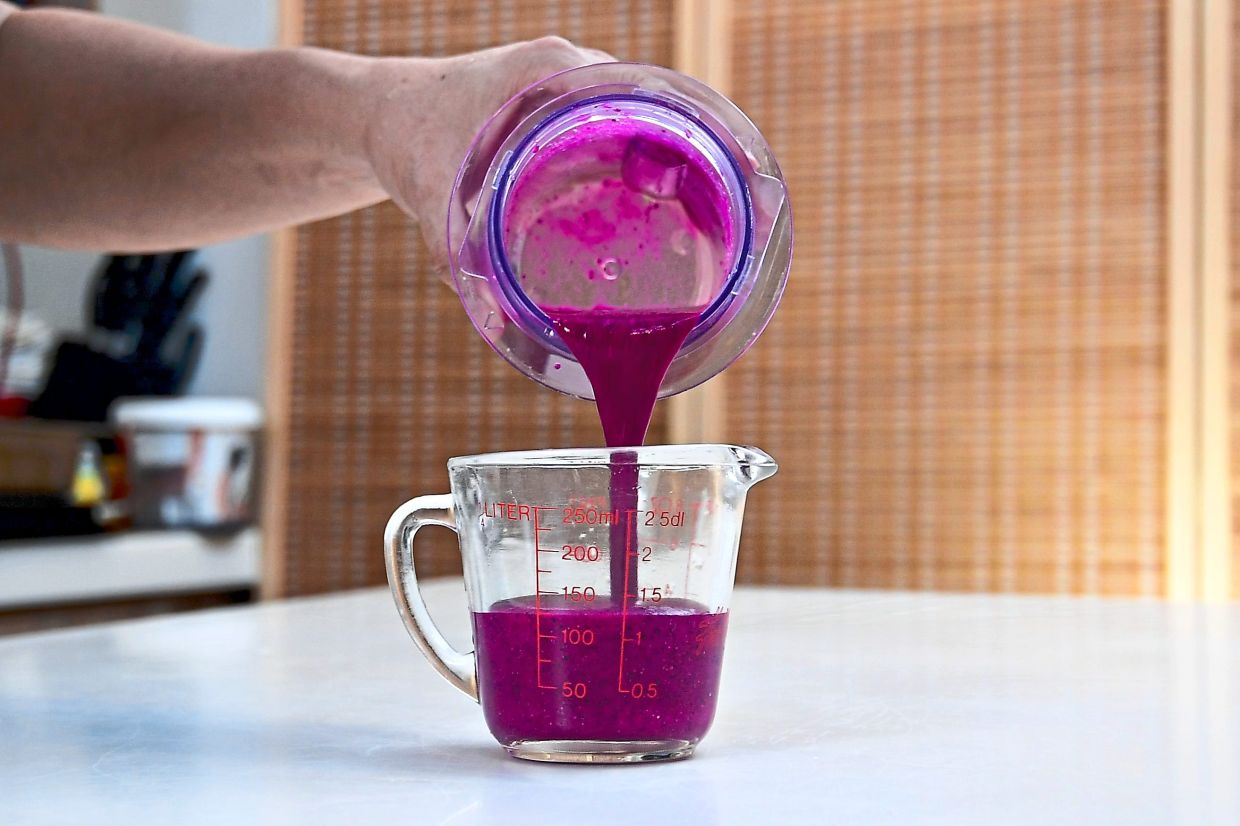
Mix in the dragon fruit juice, then stir in the cocoa powder, salt, vinegar and bicarbonate of soda.
Add the flour alternately with the yoghurt, beginning and ending with the flour.
Add them in batches, mixing until just combined to keep the batter smooth.
Divide the batter between the prepared tins. Using a wet flexible spatula, spread it evenly to cover the bases and smooth the tops.
Bake for about 30 minutes, or until the tops feel set and a skewer inserted into the centres comes out clean.
Remove from oven and leave the cakes to cool in their tins for 10 minutes.
Turn them out onto a wire rack and leave to cool completely for one to two hours.
For the frosting, whisk the flour and milk together in a saucepan until smooth.
Cook over low heat, stirring continuously until the mixture thickens into a smooth paste. Set aside to cool completely.
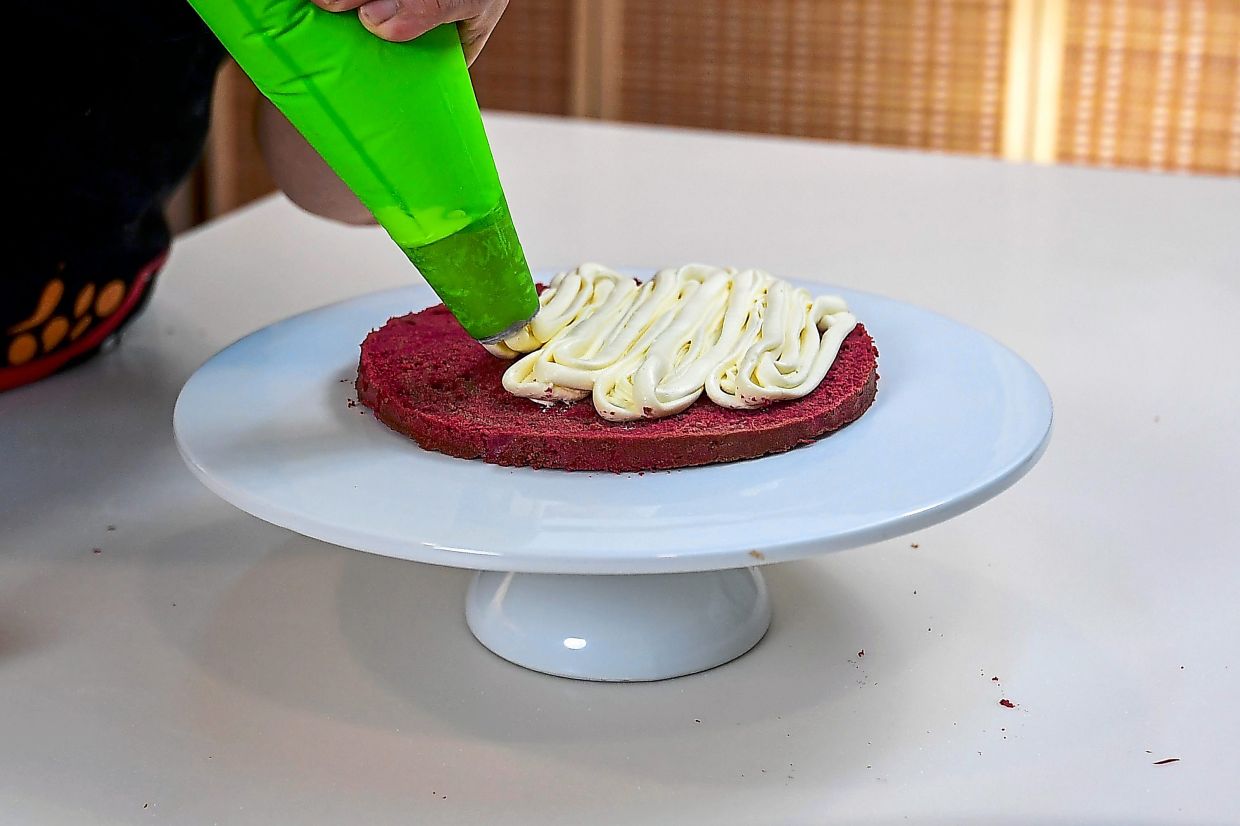
Beat the cream cheese, butter, salt and icing sugar until light and fluffy. Add the vanilla extract and beat until combined.
Once the cooked flour mixture has cooled completely, gradually beat it into the cream cheese mixture until smooth.
Transfer the frosting to a piping bag and refrigerate for one to two hours, or until firm enough to spread.
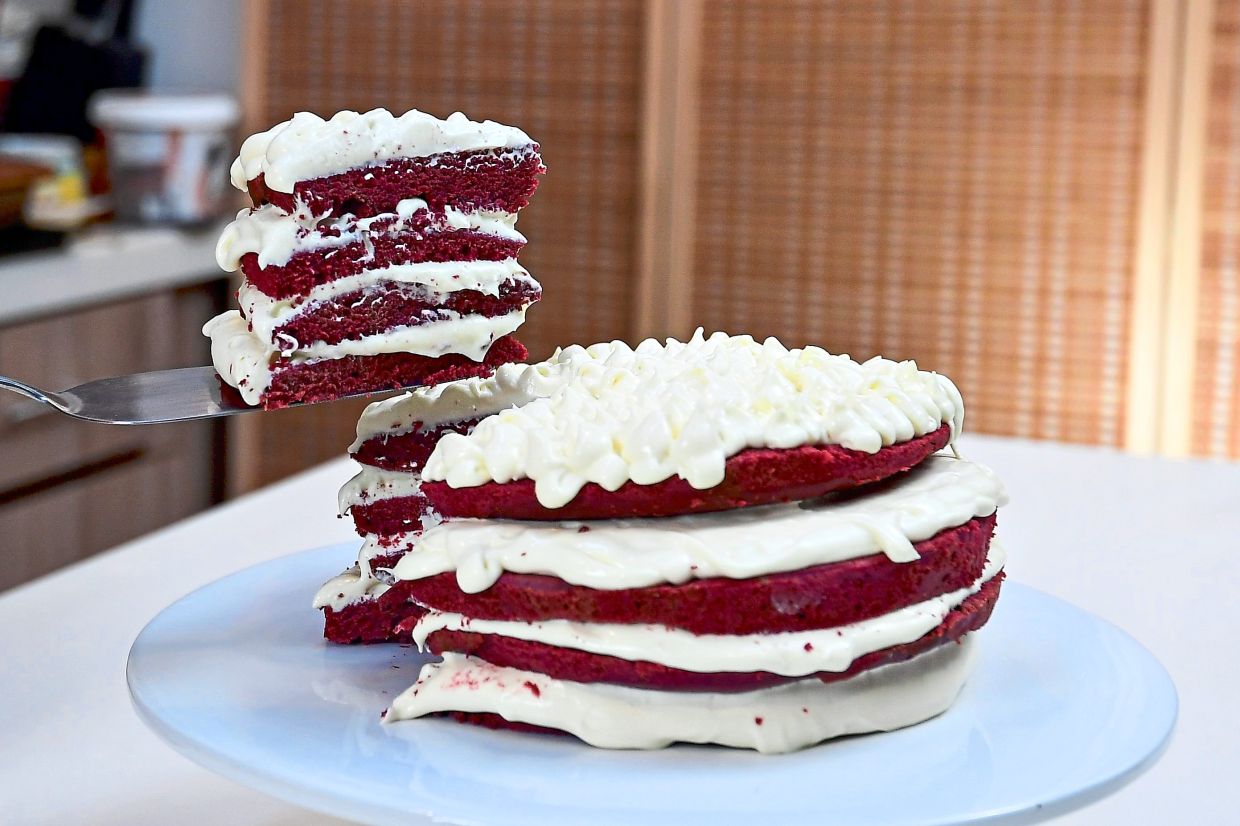
Once the cakes have cooled completely, slice each horizontally into two layers to make four layers in total.
Spread frosting between the layers as you stack them.
For a striking contrast between the red sponge and white frosting, leave the sides unfrosted and cover only the top.
Slice and serve at room temperature.
Leftovers can be kept in an airtight container and refrigerated for up to a week.