

As we near the end of 2023, let’s wrap up the year by crafting with purpose! In this season of gifting, let’s make a change from buying to making, embracing the art of crafting with our own two hands with an added touch of sustainability.
What better way to express genuine sentiments than through a handmade gift, wrapped in the unique touch of creativity and personalisation?
This time, we are repurposing discarded pallets into chic planters, breathing life into your space.
Crafting with pallet wood adds a touch of authenticity to your DIY projects, as each piece bears its own character, telling a unique story of weathering and resilience, mirroring our individual journey of overcoming challenges this past year.
So what are you waiting for? Let’s wrap up the year by unwrapping the beauty of handmade connections.
Materials
l Box – 3 pieces of 15cm x 50cm pallet and 2 pieces of 12cm x 15cm pallet
l Legs – 4 pieces of 2cm x 5cm pallet at 30cm each
Tools
l Ruler
l Glue
l Hammer and nails
l Sandpaper 320 grit
l Sander (optional)
l Drill driver (optional)
Personal Protective Equipment (PPE)
l Mask
l Goggles
The first step is to smooth things out. Grab a 320 grit sandpaper or a sander to make those rough surfaces nice and smooth.

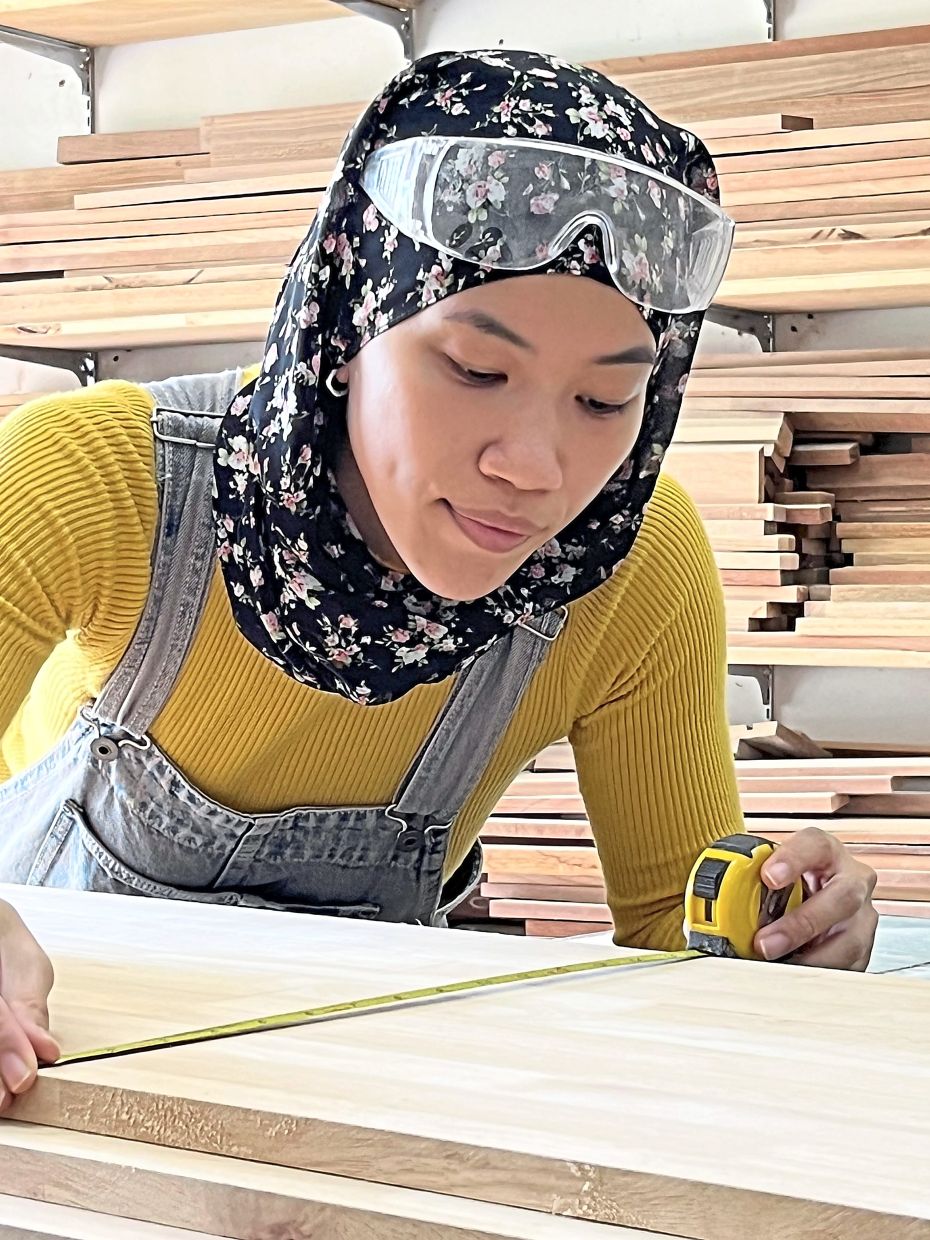
Next, mark three of the 15cm x 50cm boards. Measure all sides for the base. As for the two side pieces, mark on both the inside and outside surfaces.

Grab a drill driver if you have one. Make holes at the marked spots. If you don’t have a drill driver, no worries – pallet wood is soft enough to hammer without any holes.

Time to put it together! Attach the legs onto the outer side pieces using glue.

When the glue dries, flip it over and hammer nails into the sides at the marked spots.

Glue the two short pieces and stick one of the sides on top and hammer it down.

Flip the piece over and glue on the other side piece.

Again, hammer it down with some nails and make sure all the pieces are aligned.

Finish up your planter by attaching the bottom with glue and nails.

Ta-daa!

Aida Ihsani is a self-taught DIYer and woodworker with over eight years of experience. Through her women’s woodworking workshops, she has empowered over 1,000 women from all walks of life to be confident in using power tools and start their DIY journey. For more on Aida’s workshop, visit www.aidaihsani.com or @iamaidaihsani on Instagram.
Already a subscriber? Log in
Get 20% OFF The Star Digital Access
Cancel anytime. Ad-free. Unlimited access with perks.

The completed pallet planter. Photos: Aida Ihsani
Glue the two short pieces and stick one of the sides on top and hammer it down.
Grab a drill driver if you have one. Make holes at the marked spots. If you don’t have a drill driver, no worries – pallet wood is soft enough to hammer without any holes.
The first step is to smooth things out. Grab a 320 grit sandpaper or a sander to make those rough surfaces nice and smooth.
Time to put it together! Attach the legs onto the outer side pieces using glue.
Again, hammer it down with some nails and make sure all the pieces are aligned.
Flip the piece over and glue on the other side piece.
Finish up your planter by attaching the bottom with glue and nails.
When the glue dries, flip it over and hammer nails into the sides at the marked spots.
Next, mark three of the 15cm x 50cm boards. Measure all sides for the base. As for the two side pieces, mark on both the inside and outside surfaces.
"I want other women to have hands-on experience of using power tools so they can do DIY or any home improvements on their own," says Aida.
"I want other women to have hands-on experience of using power tools so they can do DIY or any home improvements on their own," says Aida.