

In a world filled with pre-made stuff that is just not the right size for what you need, why settle for a store-bought version that might not perfectly accommodate your spice jars? It’s time to spice it up and take matters into your own hands!
When you craft your spice rack, you have complete control over its design, materials and size, allowing you to customise it to fit your kitchen’s style and space.
This personalisation not only showcases your crafty side but also guarantees a functional and visually pleasing addition to your kitchen. It’s also an opportunity for you to create a conversation piece when your fellow foodies drop by!
Materials
Wooden boards for:
Top shelf - 6cm x 29cm
Bottom shelf - 10cm x 29cm
2 sides - 10cm x 25cm
Tools
Measuring tape
Flexible ruler
Jigsaw
Drill driver
Wood glue
Hammer and nails
Sandpaper 320 grit
Triangle ruler (optional)
Sander (optional)
Screws (optional)
Personal Protective Equipment (PPE)
Mask
Goggles
I am building this spice rack using rubberwood based on the dimensions of my spice jars. You can customise the dimensions based on your jars as well as your preferred material.

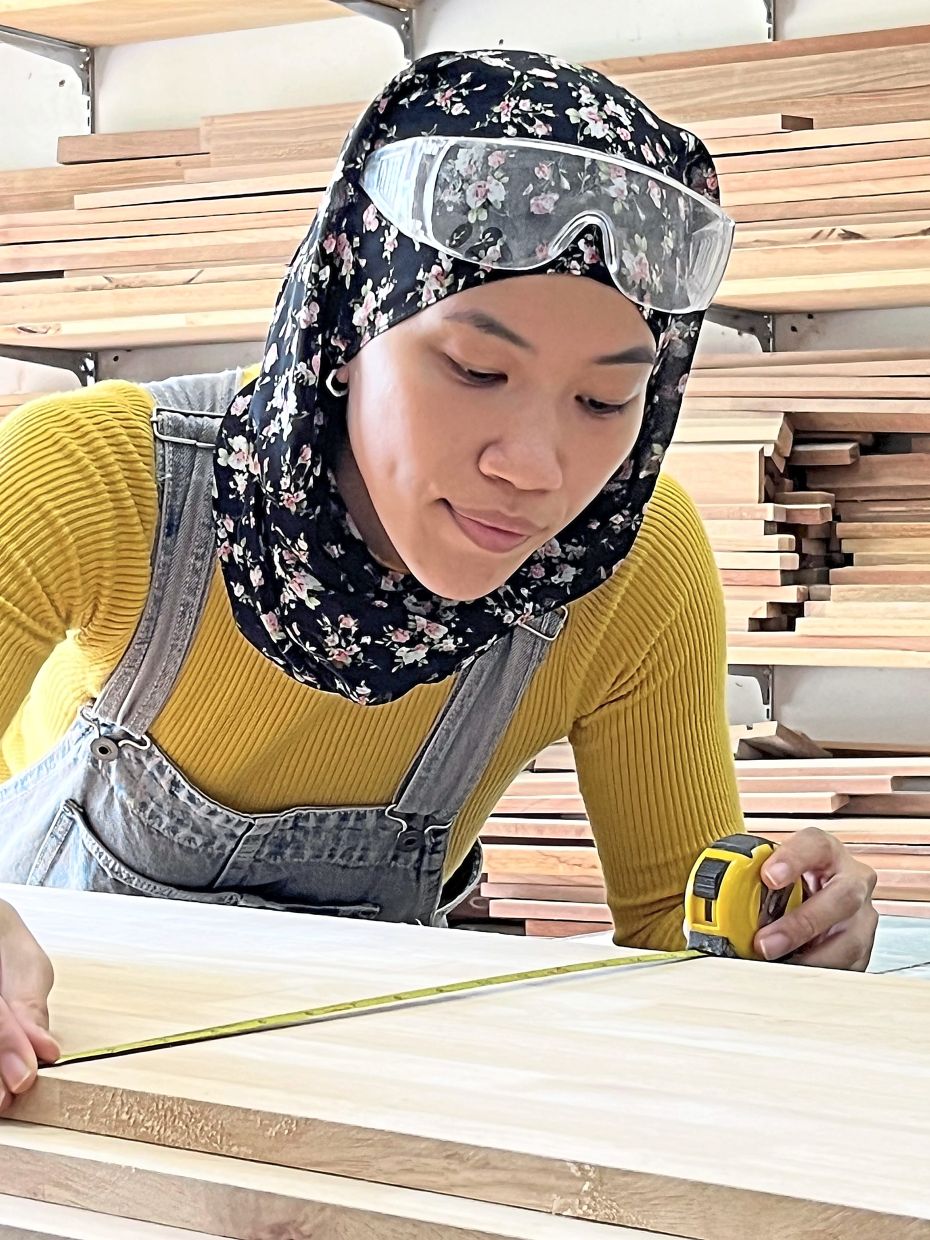
Start by lining up your jars and taking precise measurements. Use a measuring tape to determine the length, width and height of your jars. Add an allowance on your preference for the gap between the jars and the top and bottom shelves.
I added 1cm to the length of my shelves and a 2cm gap for the shelves.

With your jar dimensions in hand, measure and mark the length of the wooden boards you’ll need for your custom spice rack.
You should have one top shelf, one bottom shelf and two side pieces.

It’s time to get cutting! Using a jigsaw, carefully cut the boards along the marked lines. For added precision, you can use a triangle ruler as a guide.

Now for some personalisation, grab a flexible ruler and draw a curved shape (or any freehand shape) at the top half of the two side boards.

With your design sketched, use a jigsaw again to carefully cut along the curved lines, giving your spice rack a one- of-a-kind look.

On the same two side boards, make a line to mark where you will be attaching the shelves and the points to drill the pilot holes.

Ensure the holes are no larger than the size of a nail.

Gently sand the surfaces as well as the edges of your wooden pieces by hand. You can use a sander if you have one.
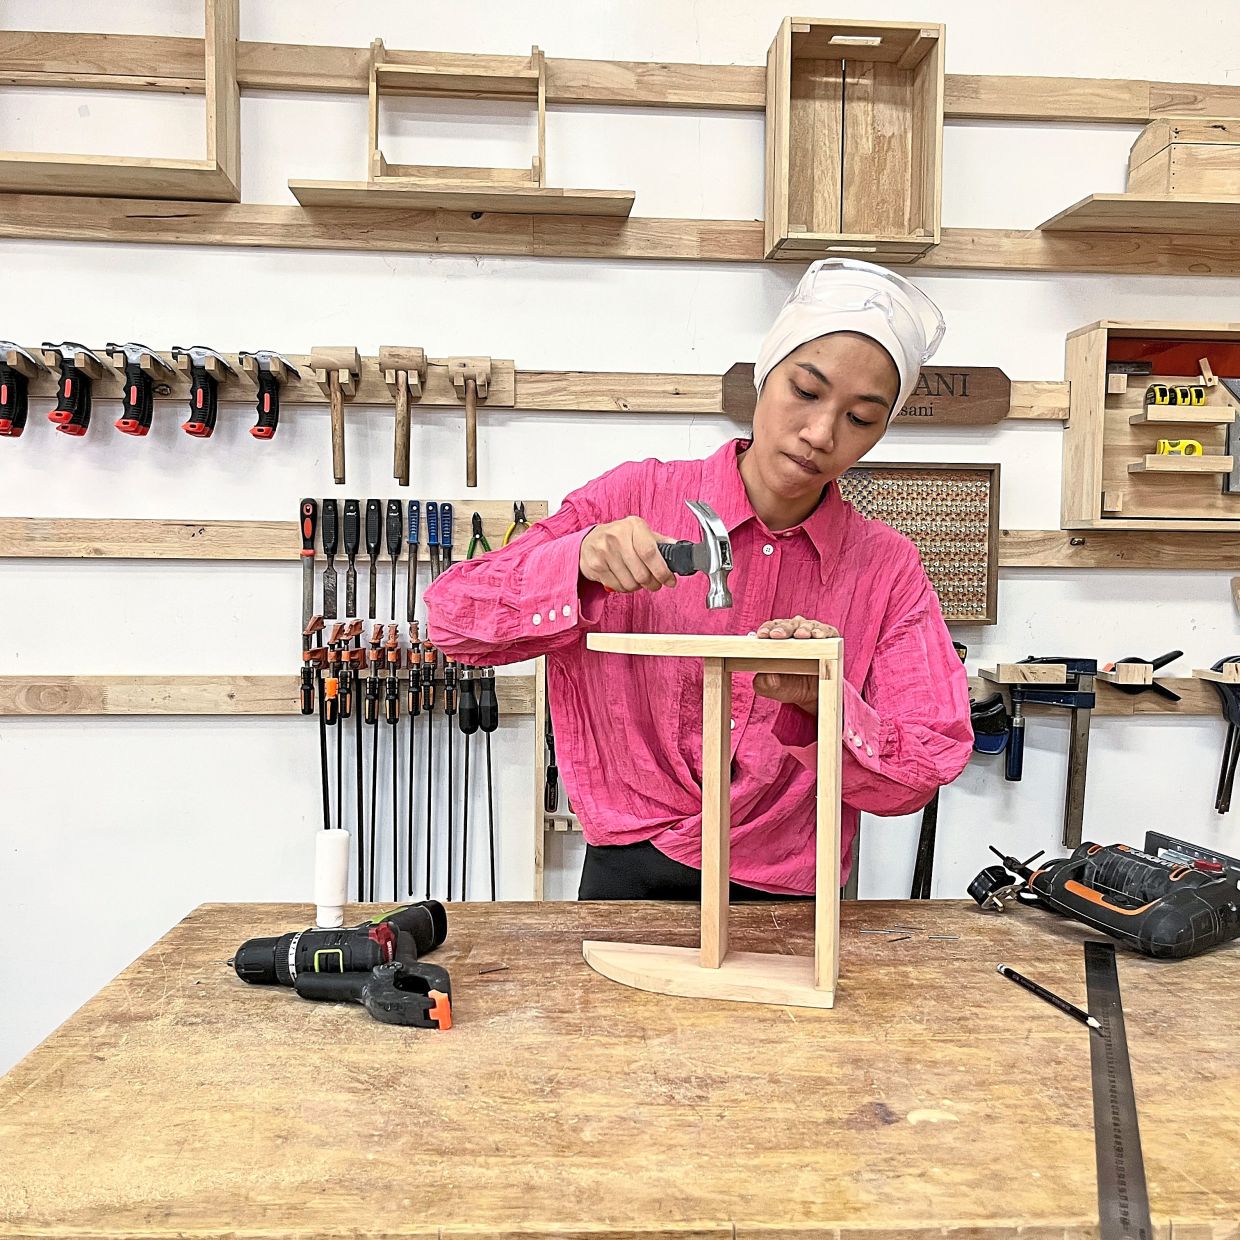
The grand finale! It’s time to attach the pieces and bring your DIY spice rack to life!
A - Attach one of the side pieces by gluing and hammering it to the bottom shelf, using the top shelf as support.
B - Flip the rack and attach the other side piece to the bottom shelf, again utilising the top shelf for support.
C - For precise alignment of the top pieces on both sides, you can use a scrap piece of wood (I used a 9cm block for the gap) as a guide. Alternatively, you can draw a line on both sides where the top shelf should be placed to ensure alignment.
Aida Ihsani is a self-taught DIYer and woodworker with over eight years of experience. Through her women’s woodworking workshops, she has empowered over 1,000 women from all walks of life to be confident in using power tools and start their DIY journey. For more on Aida’s workshop, visit www.aidaihsani.com or @iamaidaihsani on Instagram.
See video below:

Already a subscriber? Log in
Get 20% OFF The Star Digital Access
Cancel anytime. Ad-free. Unlimited access with perks.

Personalising your spice rack not only showcases your crafty side but also guarantees a functional and visually pleasing addition to your kitchen. Photos: Aida Ihsani
The final product!
On the same two side boards, make a line to mark where you will be attaching the shelves and the points to drill the pilot holes.
Smooth things over using a 320 grit sandpaper.
To prepare the pieces for assembly, drill pilot holes using a drill driver at the marked spots.
It’s time to get cutting! Using a jigsaw, carefully cut the boards along the marked lines.
With your jar dimensions in hand, measure and mark the length of the wooden boards you’ll need for your custom spice rack.
Start by lining up your jars and taking precise measurements.
Now for some personalisation, grab a flexible ruler and draw a curved shape (or any freehand shape) at the top half of the two side boards.
With your design sketched, use a jigsaw again to carefully cut along the curved lines, giving your spice rack a one- of-a-kind look.